Presets
Output presets are used to speed up your job setup by providing groups of recommended transcoding settings. The scope of the preset is limited to a single output of a transcoding job; in contrast with the template where it is applied to the entire transcoding job.
Using GjirafaTech Captain Services you can use a system preset with pre-determined settings specified for you, or you can create a custom preset with your own settings. You can create a custom preset from scratch, duplicate an existing preset in order to customize it or edit an existing one. The difference between duplicating and editing is that when you edit a preset it will affect every single output of a transcoding job that it is using, whereas duplicating it will only create a new output preset without affecting anything. You can filter your presets on the basis of being a system preset or custom preset. There is the possibility of importing or exporting a json file that represents all the output presets properties without needing to go through all the trouble of creating it from the beginning. Finally you can delete a specific output preset of your choosing.
-Create a preset - Output presets specify the properties of a single output of a transcoding job. There are the system presets which have the output settings already configured for you, meanwhile custom presets have settings that are specified by the user itself. You can create custom output presets with specific settings that better suit your needs.
-Duplicate a preset - You can duplicate an output preset and therefore it creates a new output preset. Its' purpose is to create a custom output preset from a system preset or if you want to edit a preset without affecting the jobs that are already using that output preset.
-Edit a preset - You can calibrate and tune the settings and field values in your custom presets. After you modify a preset, jobs that use that specific edited preset will run with the new settings.
NOTE : You can't change system presets, but you can duplicate them and modify the duplicated preset
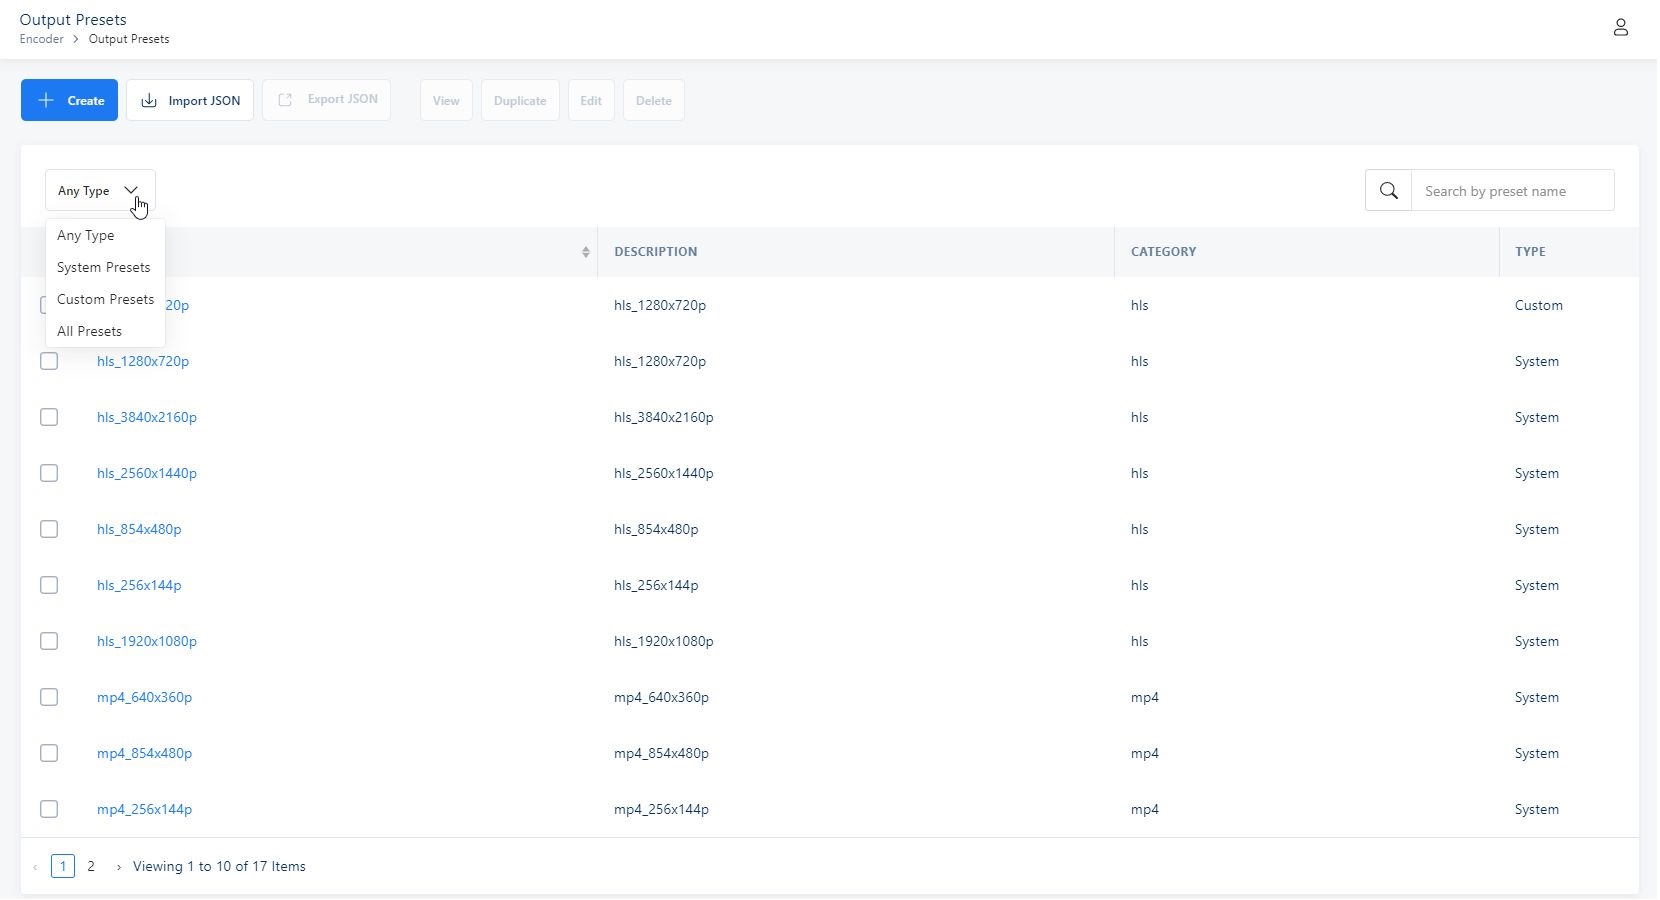
-Filter a preset - You can see the entire output preset history based on the type of the preset. For example if you want to see all the custom output preset just select the option on the drop down list to check them all at the same time
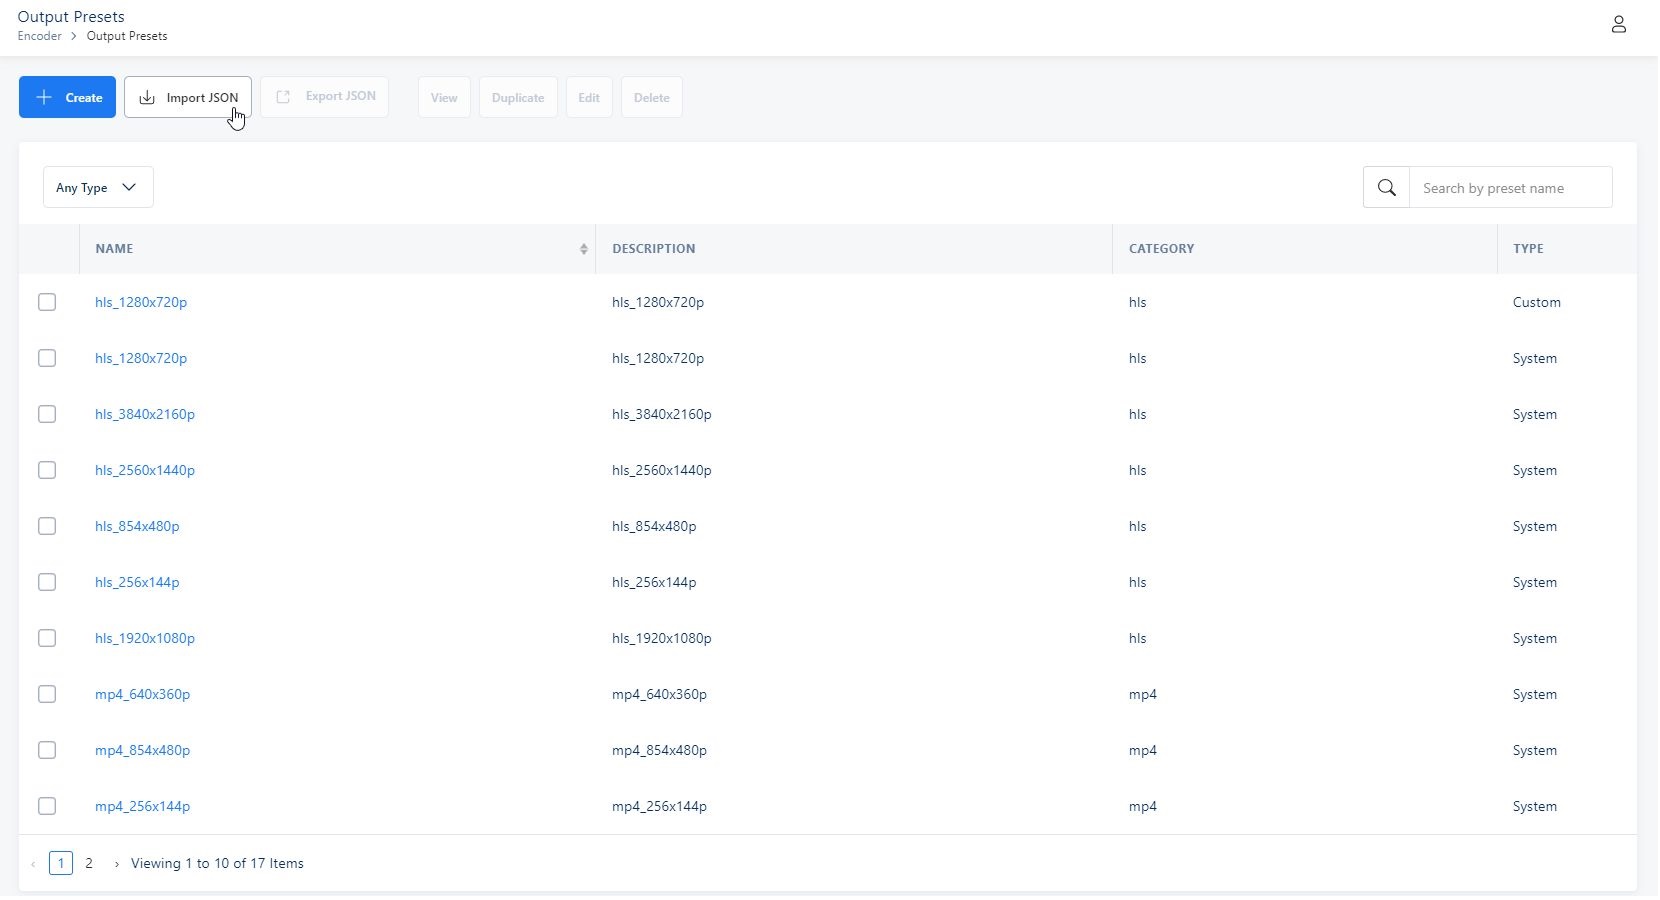
-Import or Export a JSon File - GjirafaTech Captain Encoder offers the opportunity to download the json representation of the output preset downloaded to your local machine.
You can also import the json to automatically create the output preset in response to the json provided.
NOTE : You can select multiple output presets and download their respective json representation as a batch
-Delete a preset - You can delete the custom preset that you added in the GjirafaTech Captain Encoder.
NOTE : You can't delete a system output preset or delete in batch
Create a preset#
The process in the section below describes how to create an output preset
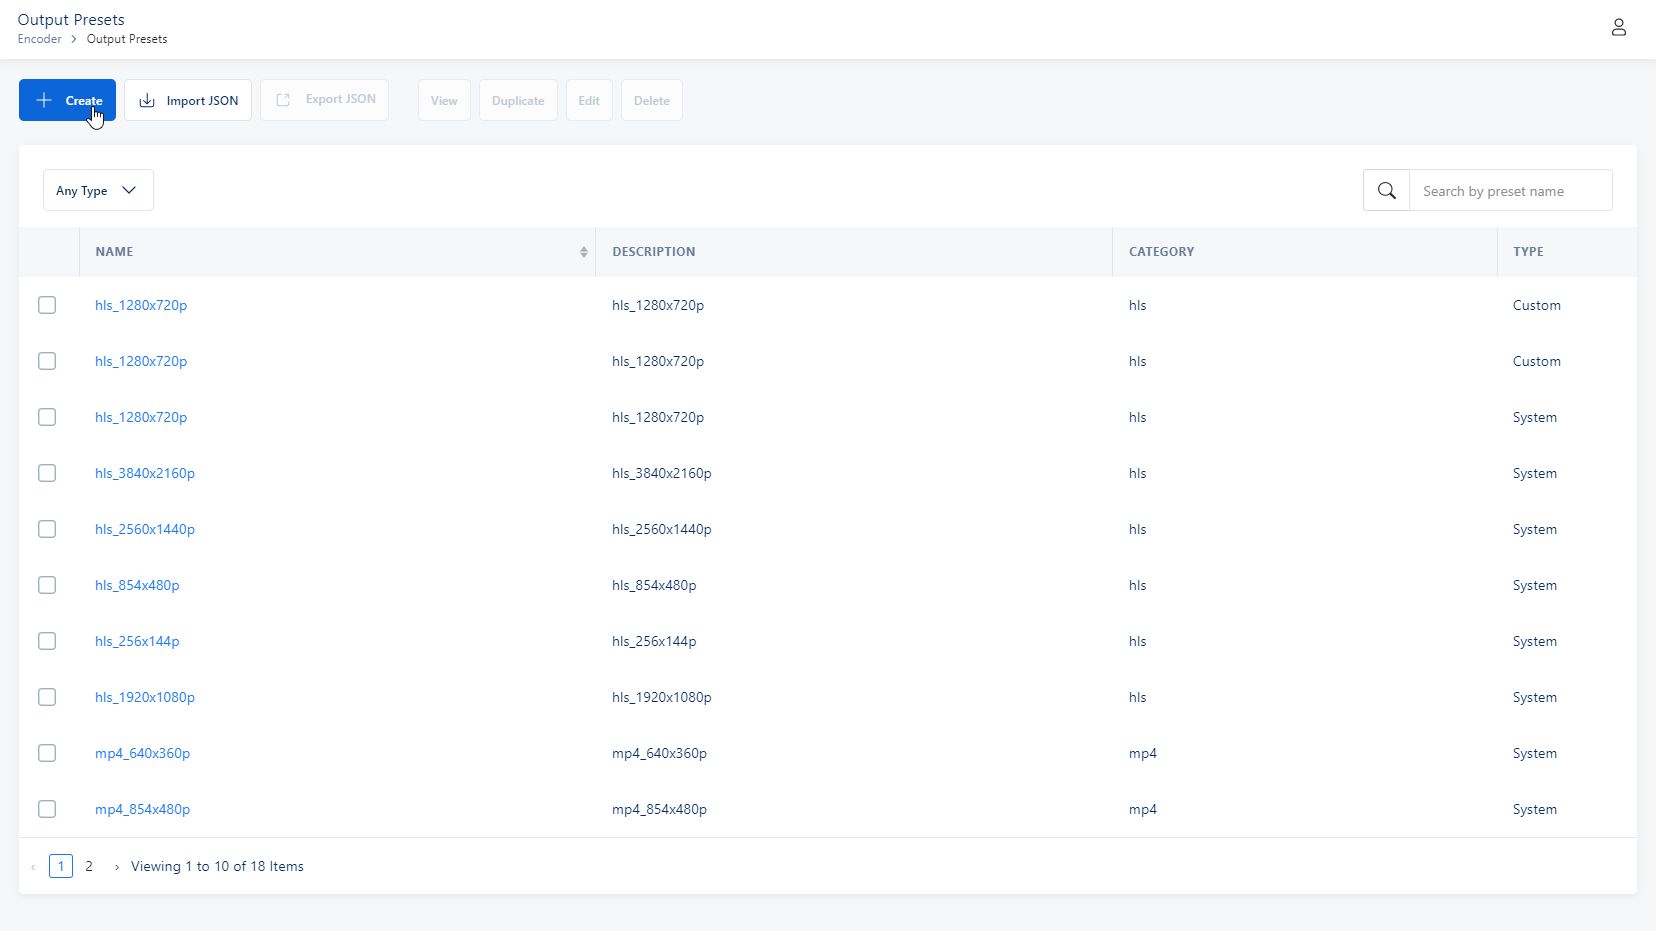
Open Captain Encoder and go to Output Presets menu
Select Create Output Preset
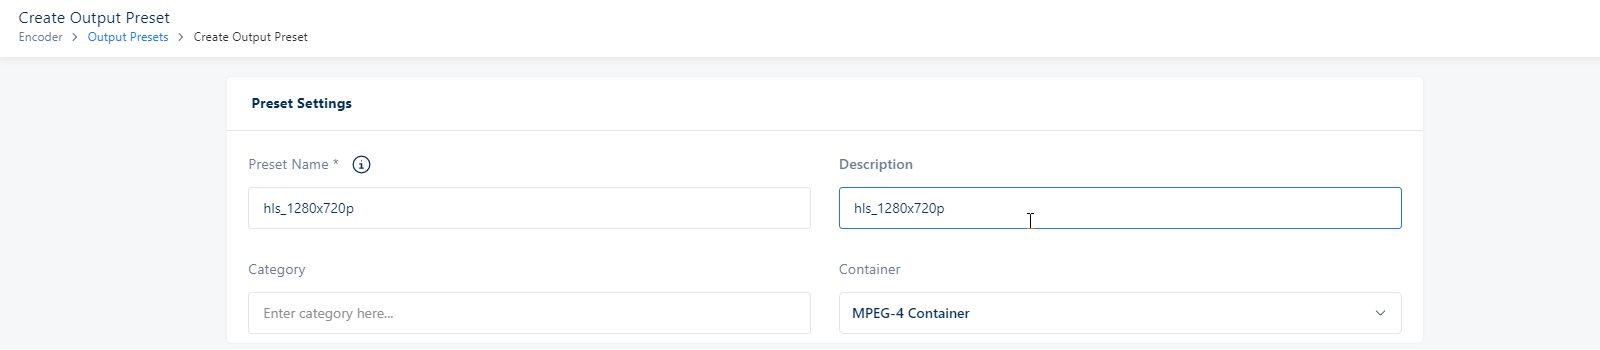
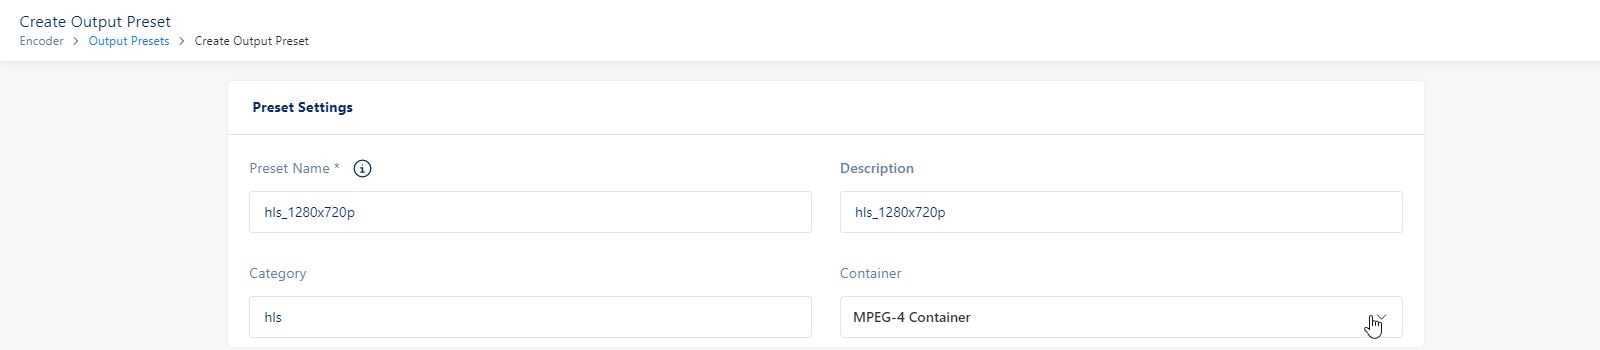
First step configure the Preset Settings
You can enter a preset name that will be associated with that particular output presets
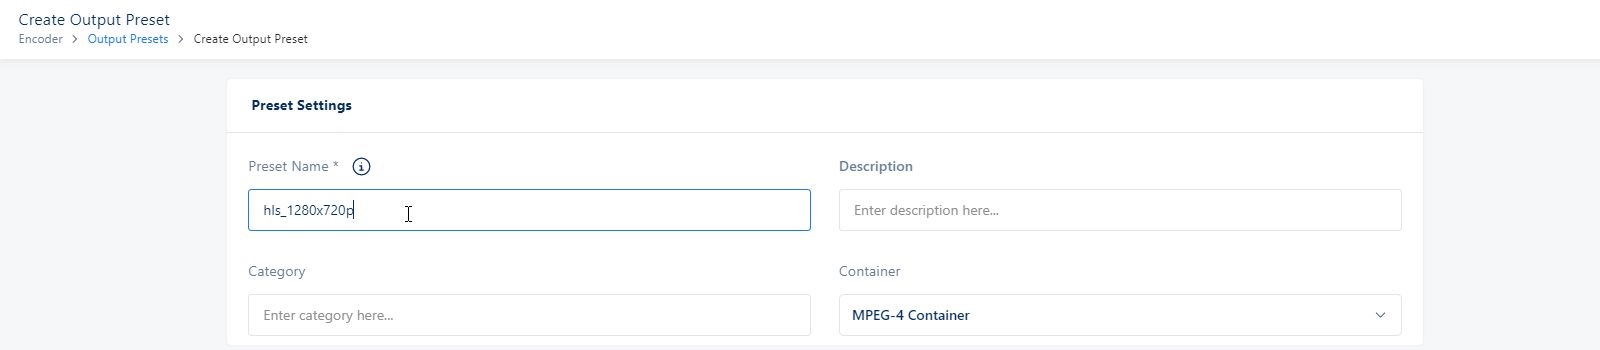
- You can enter a description for the output preset
- You can enter a category for the output preset
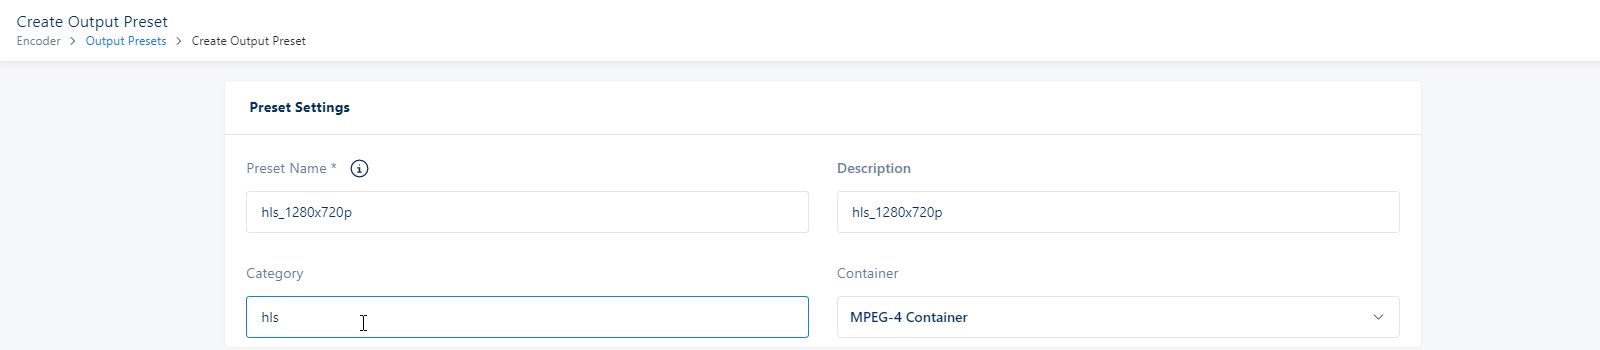
- After that you should choose a container from the drop-down list presented
After you have finished setting up your Preset Settings you should continue with the Encoding Settings
You can set up the Video Encoding Settings or remove video all along.
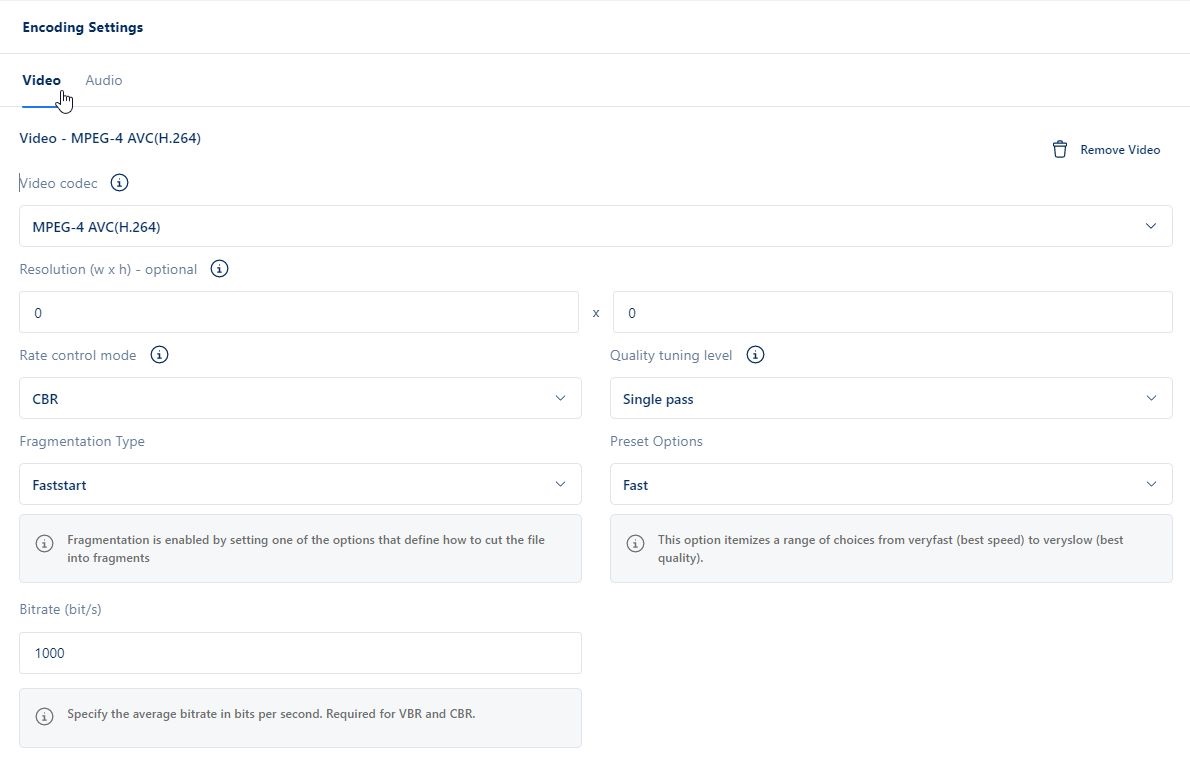
During this step you should configure a few settings
Video codec - select a video codec from the list of codecs which are compatible with the container of this output
Resolution - enter the desired resolution that you want to achieve for your transcoded media files in the form of width and height represented in pixels for the output
Rate control mode - select the rate control mode whether you want it to be constant or variable
Quality tuning level - select the level how you want to trade off encoding speed for output video quality
Fragmentation Type - specifies how to cut the file into fragments
Preset Options - specifies the output preset speed from veryfast being the best speed or veryslow being the best quality
Bitrate - specifies the average bitrate in bits per second- Select the desired framerate for your output provided as a decimal number

- Select the ascpect ratio where you have PAR Numerator and Denominator for your pixel aspect ratio

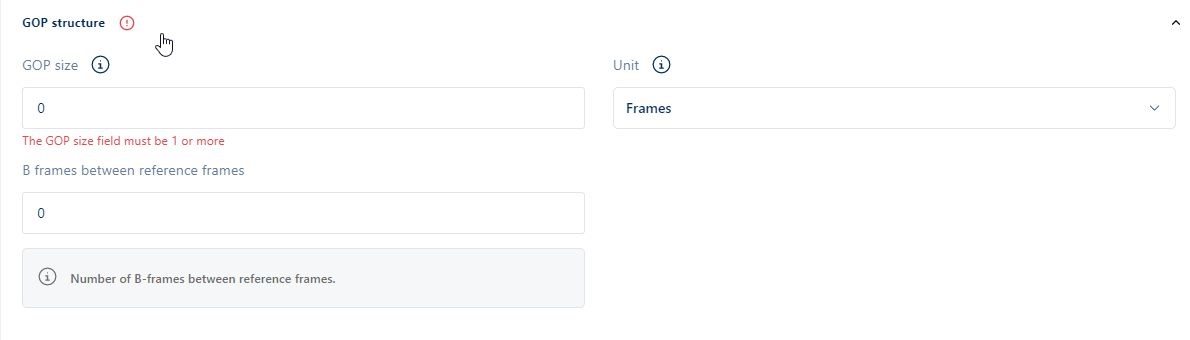
12 Configure GOP Properties, where you specify the size of the groups of picture, the unit whether that may be frame or unit and the B-frames between reference frames.
- Configure Codec Detail such as the avalaible profiles baseline, main or high, level whcih specifies an H.264 level that is consistent with the output video settings and enable or disable the metadata color

- Choose if you want to enable preprocessors

After your done with the video settings you can move over to the configure Audio properties
You can setup the Audio Encoding Settings or remove video all along.
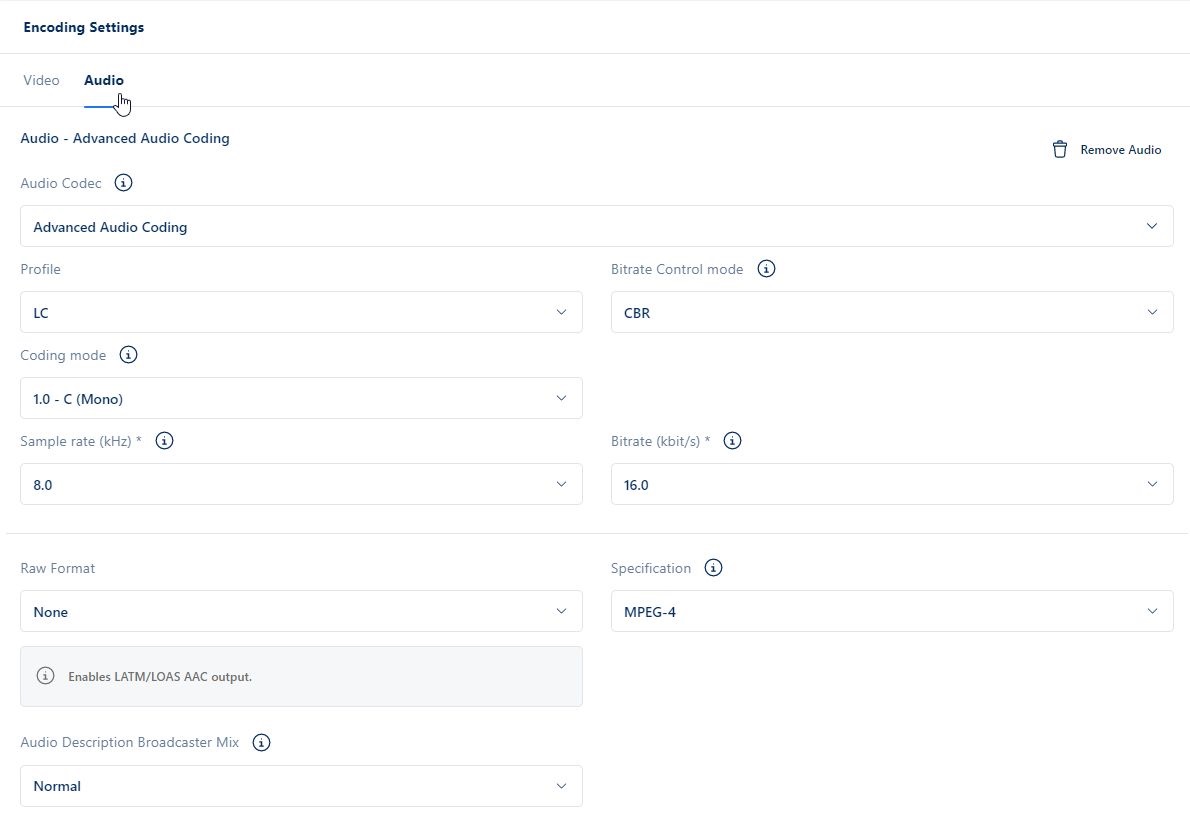
During this step you should configure a few settings
Audio Codec - select an audio codec from the list of codec which are related to the audio encoding
Profile - select a specific audio profile that best fits your audio encoding needs
Bitrate Control mode - select a bitrate control mode which dictates how the encoder allocates the encoded audio data within the file. There is Constant bitrate and is an encoding method that keeps the bitrate the same. VBR is a variable bitrate
Coding mode - select a coding mode of of audio description for further encoding
Sample rate - selects the sample rate in Hz.Valid values depend on rate control mode and profile
Bitrate - specifies the average bitrate in kilobits per second
Raw format - choose the LATM/LOAS format for audio encoding or leave it raw
Specification - select the MPEG specification for the transport stream containers
Audio Description Broadcaster Mix - Choose Broadcaster Mixed Ad when the input contains pre-mixed main audio + audio description as a stereo pair. The value for AudioType will be set to 3, which signals to downstream systems that this stream contains "broadcaster mixed AD"- After you have configured all of the properties of the output presets you can finally create the preset.
Duplicate a preset#
The process in the section below describes how to duplicate an output preset
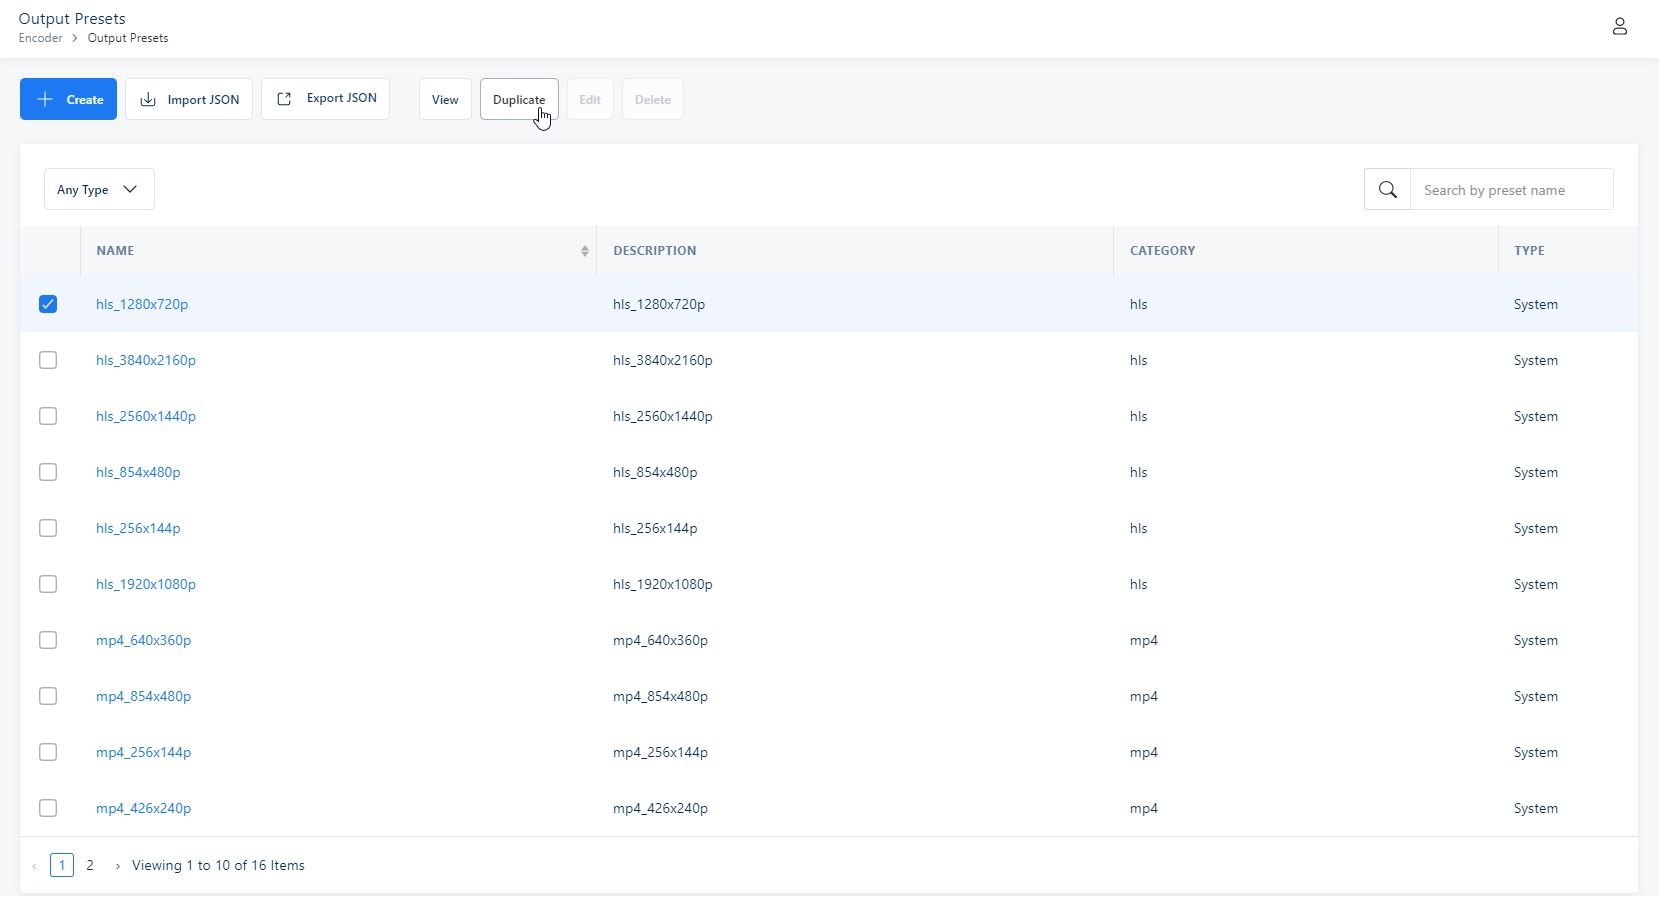
- Choose an existing outut preset that you want to duplicate
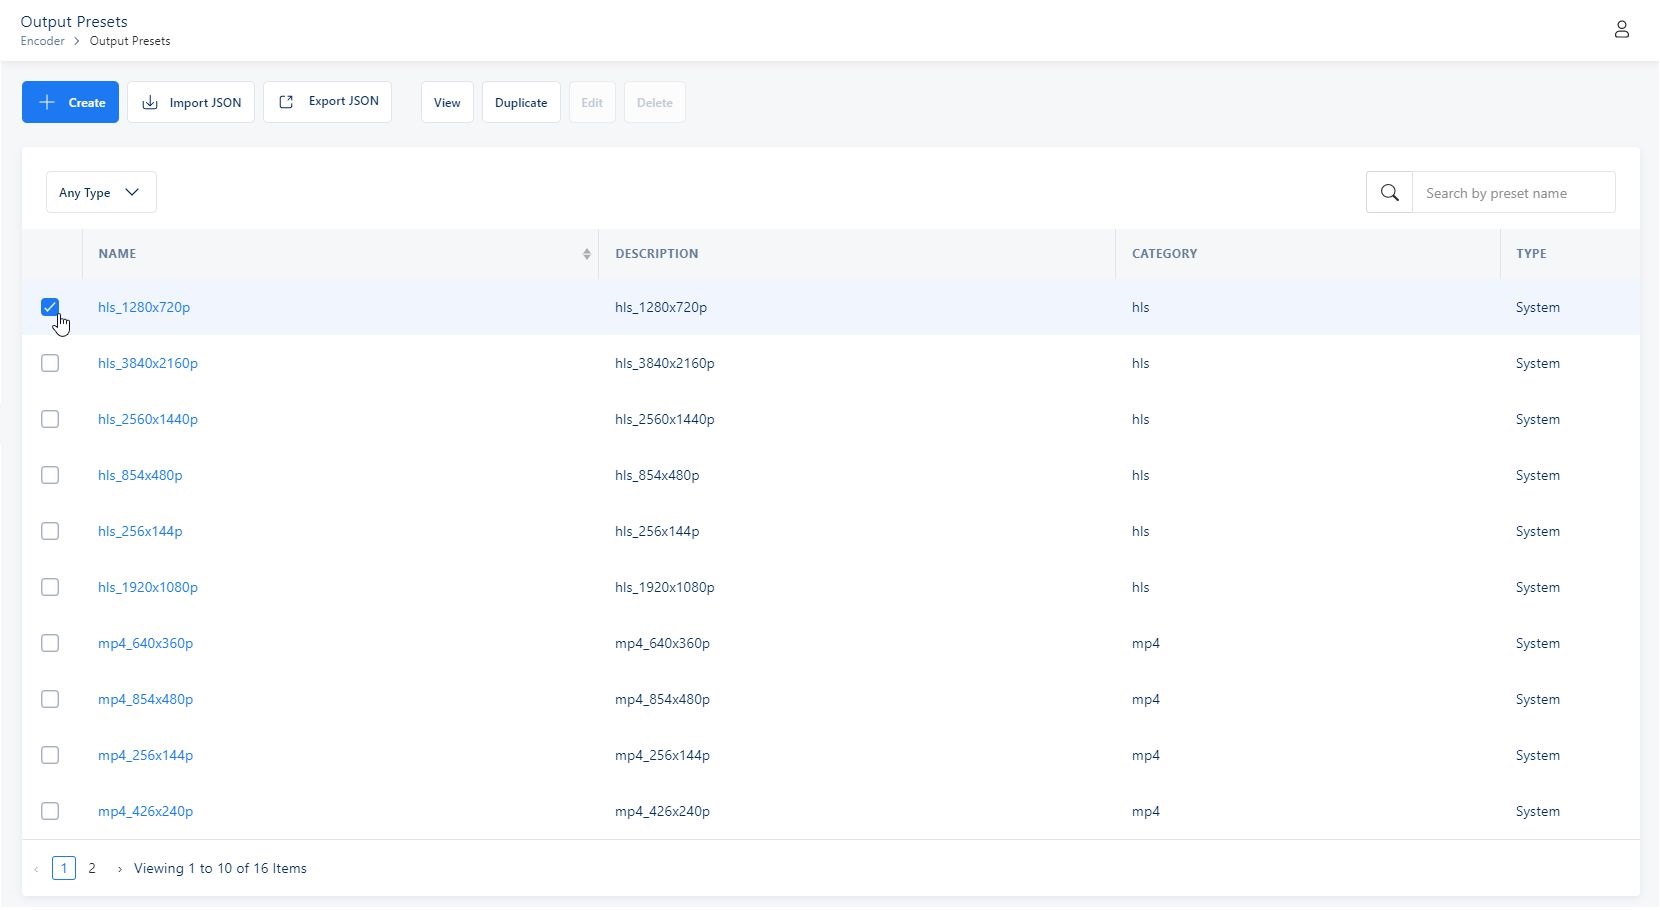
- Click on the Duplicate on the navigation bar
Customize the output preset to better fill your needs
After finishing all the changes you can click on the Create to create the duplicated output preset
Edit a preset#
The process in the section below describes how to edit an output preset
- Choose an existing outut preset that you want to edit
- Click on the Edit on the navigation bar

Edit the output preset to better fill your needs
After finishing all the changes you can click on the Save Changes to save the changes
Filter a preset#
The process in the section below describes how to filter through all your output presets
Import or export a json file#
The process in the section below describes how to import or export a json file representation of an output preset
To download the json represenation of output preset

To create an output preset from json
Next you need to provide the json file in order to successfully create it
Delete a preset#
To delete an output preset
- Choose an existing outut preset that you want to delete
- Click on the Delete on the navigation bar
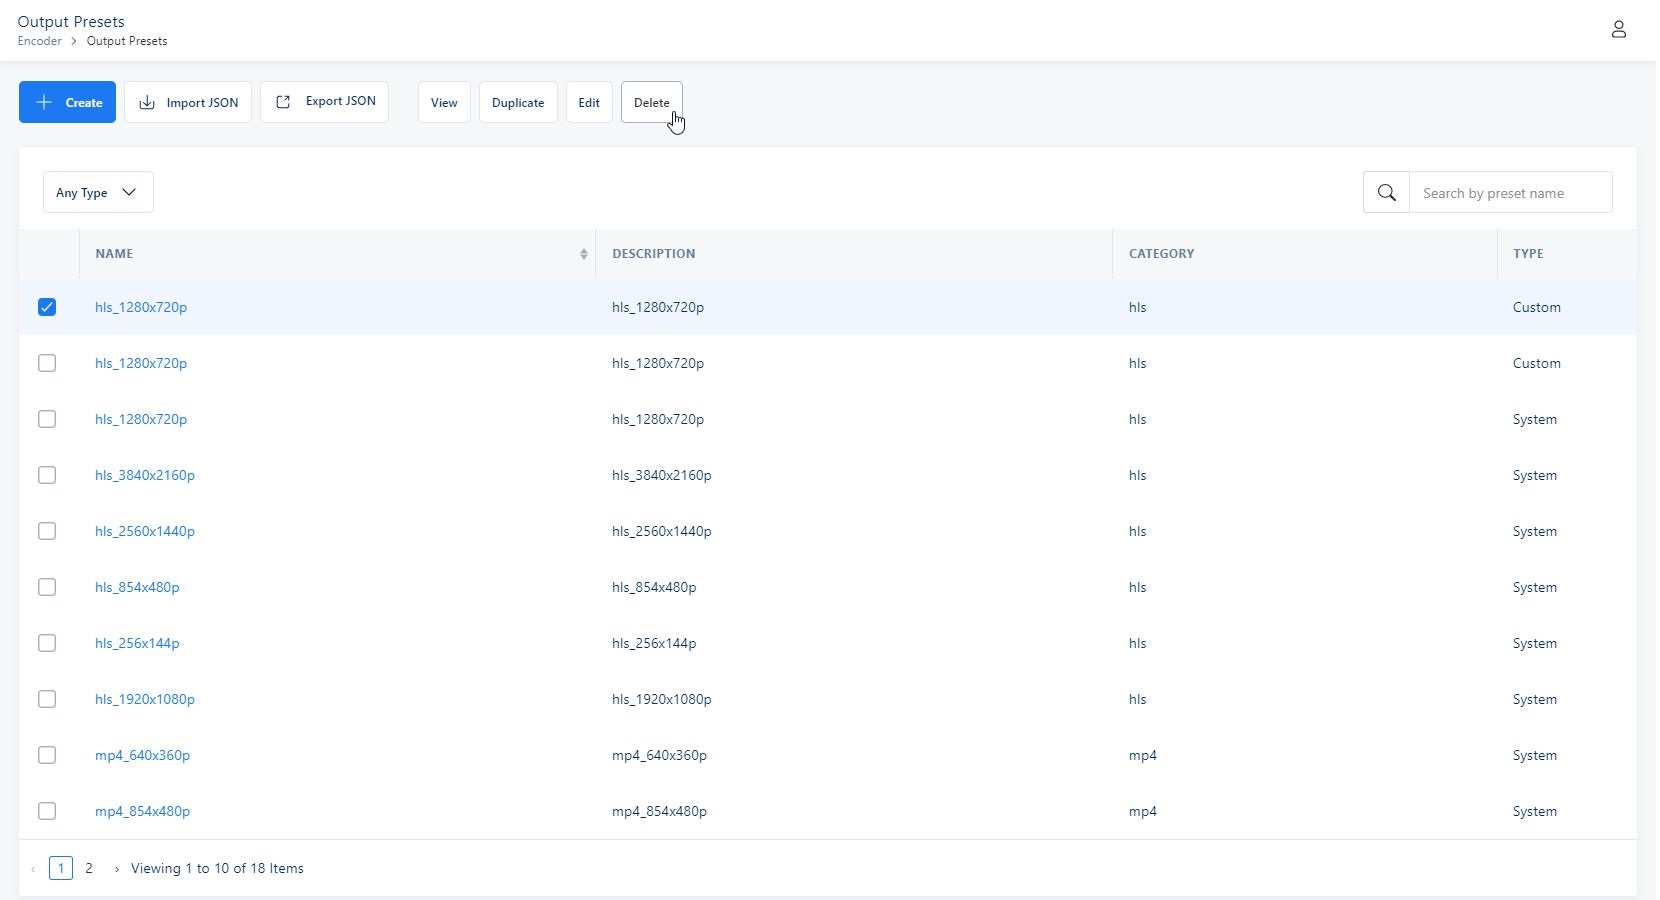
- Confirm that you want to delete it